ShareRing Web Wallet
Introduction
ShareRing's web wallet extension lets users manage their cryptocurrencies and interact with decentralized applications (DApps) on the web. This guide walks you through installing the extension and its main features.
Installing the Extension
Visit the download page for the extension on the Chrome Web Store and click Install.
In the browser, click the extension icon and pin the extension to make it available in your browser toolbar.
Adding Wallets to the Extension
With the extension installed, you will see the following screen and can create a new wallet or import an existing wallet.
Import an Existing Wallet
To import an existing wallet, click Import Existing Wallet and follow the prompts. When you import an existing wallet, the account associated with the wallet is also imported.
You will need the recovery phrase for the wallet you are importing.
Create a New Wallet
To create a new wallet, click Create New Wallet and follow the prompts. When you create a new wallet, a new account is also created for you.
You will need to copy the 12 word seed phrase the extension generates as these will be required to access your wallet. Make a copy of the seed phrase and keep it somewhere safe.
Add More Wallets
To add additional wallets to the extension, click the account icon in the top right corner of the extension and select Add More Wallets, and follow the prompts on the screen.
Manage your Accounts
You can access the settings for the extension by clicking the account icon in the top right corner. This includes:
- Adding more accounts.
- Importing an account with a private key.
- Viewing the recovery phrase.
- Changing your password.
- Signing out of the app.
The extension stores data in the browser's local storage, if you sign out of the app, the data will be removed, and you will need to import or create a new wallet to start using the extension again.
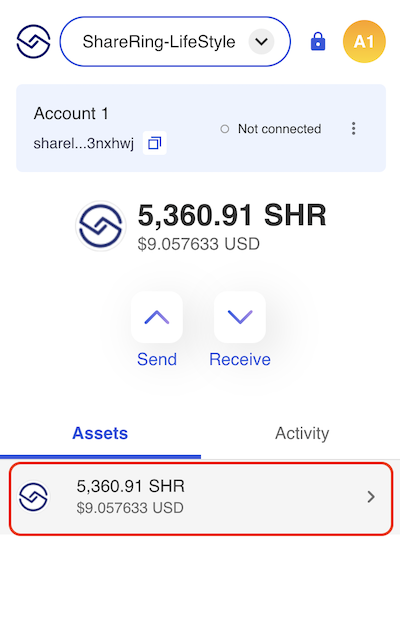
You can view your assets and activity on your accounts in the Assets and Activity tabs:
Add More Accounts
To add more accounts, click the account icon in the top right corner of the extension and select Add More Accounts, and follow the prompts on the screen.
Import an Account with a Private Key
To import an account with a private key, click the account icon in the top right corner of the extension and select Import Account via Private Key, and follow the prompts on the screen.
Imported accounts are not associated with your the ShareRing account secret recovery phrase. The imported account will display an Imported badge in the extension.
Export an Account's Private Key
To export an account's private key, click the three vertical dots next to the account and select Export Private Key:
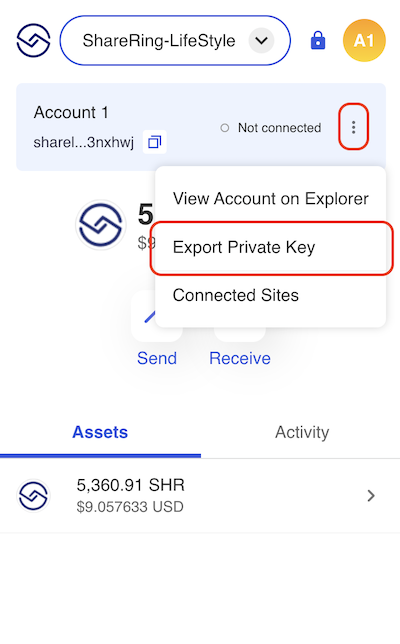
Enter your password to make the private key visible. Copy the key and keep it somewhere safe. Do not share the Private Key with anybody as it will give them access to your account and any assets held in the account.
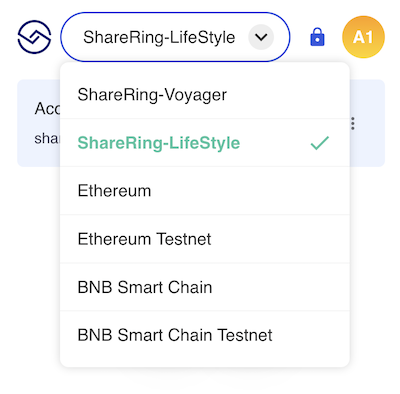
Switch Network
You can access multiple networks with the extension.
- ShareRing-Voyager
- Ethereum
- Ethereum Testnet
- BNB Smart Chain
- BNB Smart Chain Testnet
To switch networks click the dropdown icon next to the current network and select from the list of available networks.
Connect your Account
To connect an account to a website, click the three horizontal dots next to the account and click, View Account on Explorer. This will load the site, and when you view the extension, if the account is connected to the site, you will see green text that reads, Connected.
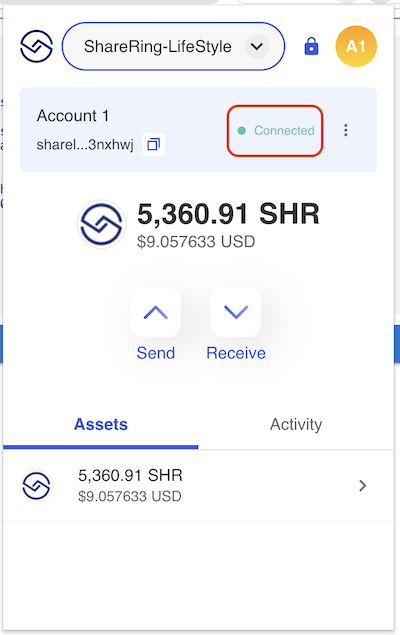
If the account is not connected, the text will be grey and say Not Connected. To connect the extension to a web3 site, find and click the Connect Button on the site.
If you want to disconnect from a site after you've connected, you can click the green connected text and then click Disconnect.
Send and Receive
You can send and receive tokens from the wallet extension two ways:
- From the Account Basic Info screen.
- From the Token Details screen.
Send
- Click Send from the Account Basic Info screen or the Token Details screen.
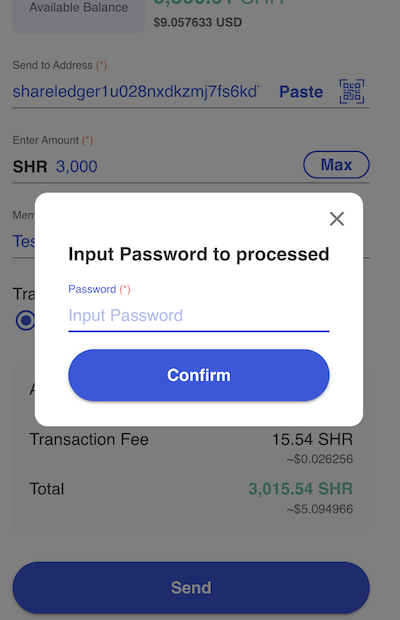
- Enter the transaction details:
![]()
- Send to Address: The recipient address of this transaction. You can paste the address from the clipboard or use the QR scanner to retrieve the address.
- Enter the Amount: Enter the transaction amount (if you click Max the transaction will be for the full account balance).
- Memo: Add a memo for the transaction.
- Transaction Speed: Select the transaction speed. The transaction fee will change depending on your selection.
- Click send and authenticate, then click Confirm.
Receive
You can receive tokens with the wallet extension in two ways:
- From the Account Basic Info screen.
- From the Token Details screen of a specific token.
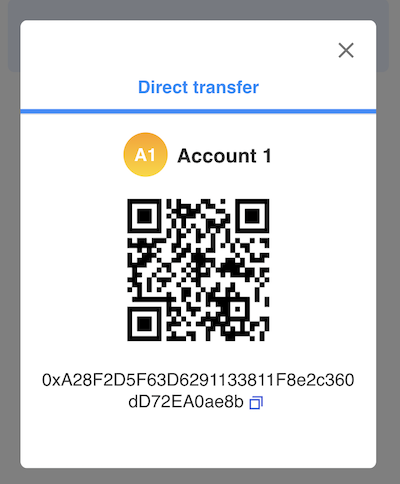
- From either the Account Basic Info screen or the Token Details screen, click the Receive button to reveal the account's address and its QR code.
Bridge
If you're using the ShareLedger network, the Receive popup will have a tab called Bridge from another network.
You can bridge from Ethereum or BNB Smart Chain.
Select the standard you are bridging from, ERC20 or BEP20, to generate the address for the transaction.